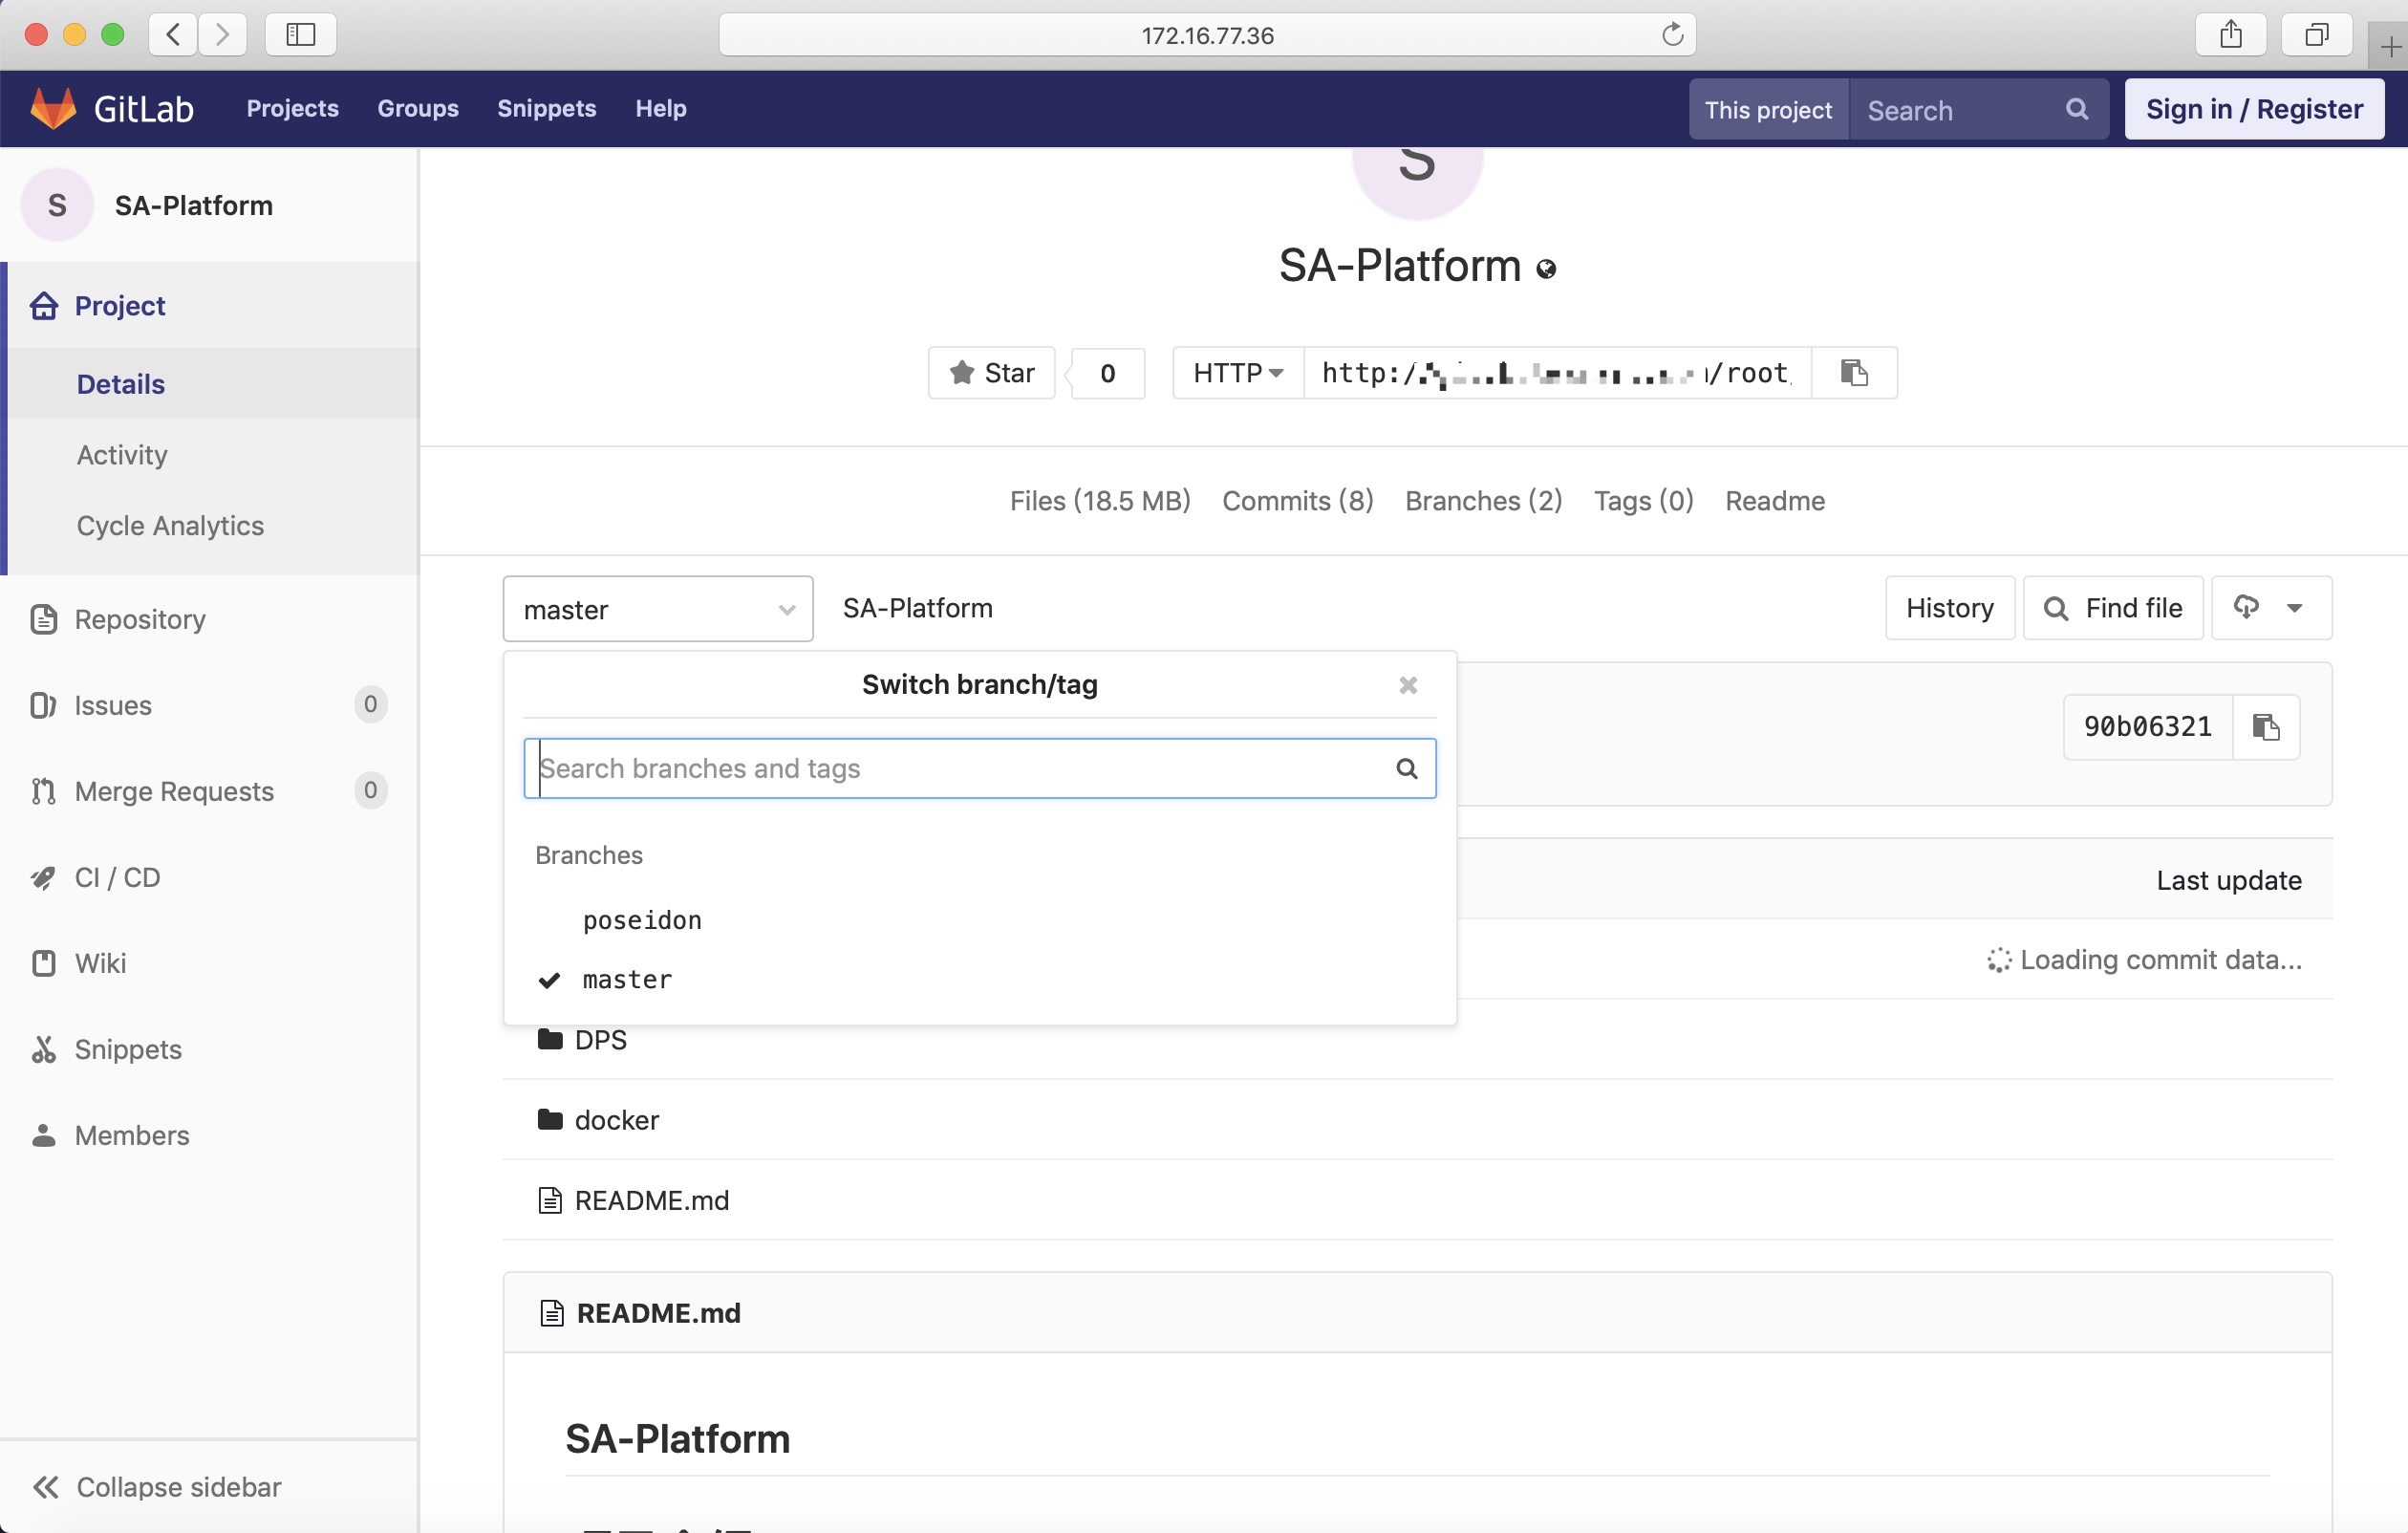
背景:因为gitlab服务器是使用docker搭建的,为了以后迁移gitlab做准备,先在测试环境下测试实操gitlab迁移。此文档是在centos7.x下实际操作
目的:将环境配置和数据内容还原到新的环境中去
前期准备
| 服务器 |
系统版本 |
gitlab版本 |
| 172.16.77.36 |
Centos7.x |
11.0.3 |
| 172.16.77.162 |
Centos7.x |
11.0.3 |
注意:gitlab迁移最好使用相同版本 迁移后再做升级操作
数据备份
1
2
3
4
5
6
7
8
9
|
docker run --detach \
    --hostname git.xxxxxxxxx.com \
    --publish 443:443 --publish 10021:80 --publish 10022:22 \
    --name gitlab \
    --volume /home/docker/data/gitlab/config:/etc/gitlab:Z \
    --volume /home/docker/data/gitlab/logs:/var/log/gitlab:Z \
    --volume /home/docker/data/gitlab/data:/var/opt/gitlab:Z \
    --privileged \
    gitlab/gitlab-ce:11.0.3-ce.0
|

1
|
[root@k8s-77-36 ~]# docker exec -t gitlab gitlab-rake gitlab:backup:create
|
1
2
3
4
5
|
[root@k8s-77-36 ~]# cd /home/docker/data/gitlab/data/backups
[root@k8s-77-36 backups]# ll
总用量 18772
-rw-------. 1 libstoragemgmt polkitd 19220480 6月   3 15:52 1559548339_2019_06_03_11.0.3_gitlab_backup.tar
[root@k8s-77-36 backups]#
|
注意:备份文件在/home/docker/data/gitlab/data/backups下
配置文件在/home/docker/data/gitlab/config下
1
2
3
4
5
6
7
8
9
|
docker run --detach \
    --hostname git.xxxxxxxxx.com \
    --publish 443:443 --publish 10021:80 --publish 10022:22 \
    --name gitlab \
    --volume /home/docker/data/gitlab/config:/etc/gitlab:Z \
    --volume /home/docker/data/gitlab/logs:/var/log/gitlab:Z \
    --volume /home/docker/data/gitlab/data:/var/opt/gitlab:Z \
    --privileged \
    gitlab/gitlab-ce:11.0.3-ce.0
|
-
复制备份
将老服务器上的备份文件和配置文件都拷贝到新服务器上对应的目录上
1
2
3
4
5
|
[root@k8s-77-36 backups]# pwd
/home/docker/data/gitlab/data/backups
[root@k8s-77-36 backups]# scp 1559548339_2019_06_03_11.0.3_gitlab_backup.tar  root@172.16.77.162:/home/docker/data/gitlab/data/backups
....
[root@k8s-77-36 gitlab]# scp -r config/*  root@172.16.77.162:/home/docker/data/gitlab/config/
|
还原备份
1
2
3
4
5
6
7
|
# 进入容器
docker exec -it gitlab /bin/bash
gitlab-ctl stop unicorn
gitlab-ctl stop sidekiq

# 验证
gitlab-ctl status
|
1
2
3
4
5
6
|
#恢复数据库
root@git:/# gitlab-rake gitlab:backup:restore BACKUP=1559548339_2019_06_03_11.0.3
Unpacking backup ... tar: 1559548339_2019_06_03_11.0.3_gitlab_backup.tar: Cannot open: Permission denied
tar: Error is not recoverable: exiting now
unpacking backup failed
|
出现以上错误是因为备份文件权限不足。直接给足权限,然后在运行
 1
 2
 3
 4
 5
 6
 7
 8
 9
10
11
|
root@git:/var/opt/gitlab/backups# pwd
/var/opt/gitlab/backups
root@git:/var/opt/gitlab/backups# chmod 777 1559548339_2019_06_03_11.0.3_gitlab_backup.tar #修改权限
root@git:/var/opt/gitlab/backups# ll 1559548339_2019_06_03_11.0.3_gitlab_backup.tar
-rwxrwxrwx. 1 root root 19220480 Jun  3 12:42 1559548339_2019_06_03_11.0.3_gitlab_backup.tar*
root@git:/var/opt/gitlab/backups# gitlab-rake gitlab:backup:restore BACKUP=1559548339_2019_06_03_11.0.3
...
Do you want to continue (yes/no)? yes
...
Do you want to continue (yes/no)? yes
|
到此数据恢复完成
1
2
3
4
|
#重启并验证
gitlab-ctl restart
gitlab-rake gitlab:check SANITIZE=true
|

gitlab版本升级
1
2
3
|
[root@k8s-77-162 ~]# docker exec gitlab bash -c "cat /opt/gitlab/embedded/service/gitlab-rails/VERSION"
11.0.3
|
-
拉取新版本的镜像
拉取镜像时尽量加上具体tag 这样能更加直观
1
2
|
[root@k8s-77-162 ~]# docker pull gitlab/gitlab-ce:11.10.5-ce.0
|
1
2
3
4
5
|
[root@k8s-77-162 ~]# docker stop gitlab
gitlab
[root@k8s-77-162 ~]# docker rm gitlab
gitlab
|
 1
 2
 3
 4
 5
 6
 7
 8
 9
10
|
docker run --detach \
    --hostname git.xxxxxxxx.com \
    --publish 443:443 --publish 10021:80 --publish 10022:22 \
    --name gitlab \
    --volume /home/docker/data/gitlab/config:/etc/gitlab:Z \
    --volume /home/docker/data/gitlab/logs:/var/log/gitlab:Z \
    --volume /home/docker/data/gitlab/data:/var/opt/gitlab:Z \
    --privileged \
    gitlab/gitlab-ce:11.10.5-ce.0
|
1
2
3
|
[root@k8s-77-162 ~]# docker exec gitlab bash -c "cat /opt/gitlab/embedded/service/gitlab-rails/VERSION"
11.10.5
|

到此升级完成
注意:如果是跨大版本更新的话请仔细阅读官方文档
如:11.0.3升级到12.10.0 需要11.0.3 > 11.11.8 > 12.0.12 > 12.10.0
官方文档
Author
dylan
LastMod
2019-06-10
License
如需转载请注明文章作者和出处。谢谢!


