使用docker搭建nexus并配置docker私有仓库

Contents
搭建
Nexus是用于Maven私服的,不过在官网上发现最新的Nexus 3.x还支持Docker仓库了,所以使用docker来搭建一下Nexus
查找镜像
|
|
选取使用次数较多是镜像 拉取镜像
|
|
查看拉取的镜像
|
|
启动容器
|
|
-p 8081:8081 \
-p 8082:8082  \
-p 8083:8083  \
-p 8084:8084  \
-p 8085:8085   \
-v /opt/nexus-data:/nexus-data \
sonatype/nexus3
查看容器日志
|
|
登录配置
确保正常启动后 使用浏览器访问http://服务器ip:8081
点击右上角登录 账号密码:admin/admin123
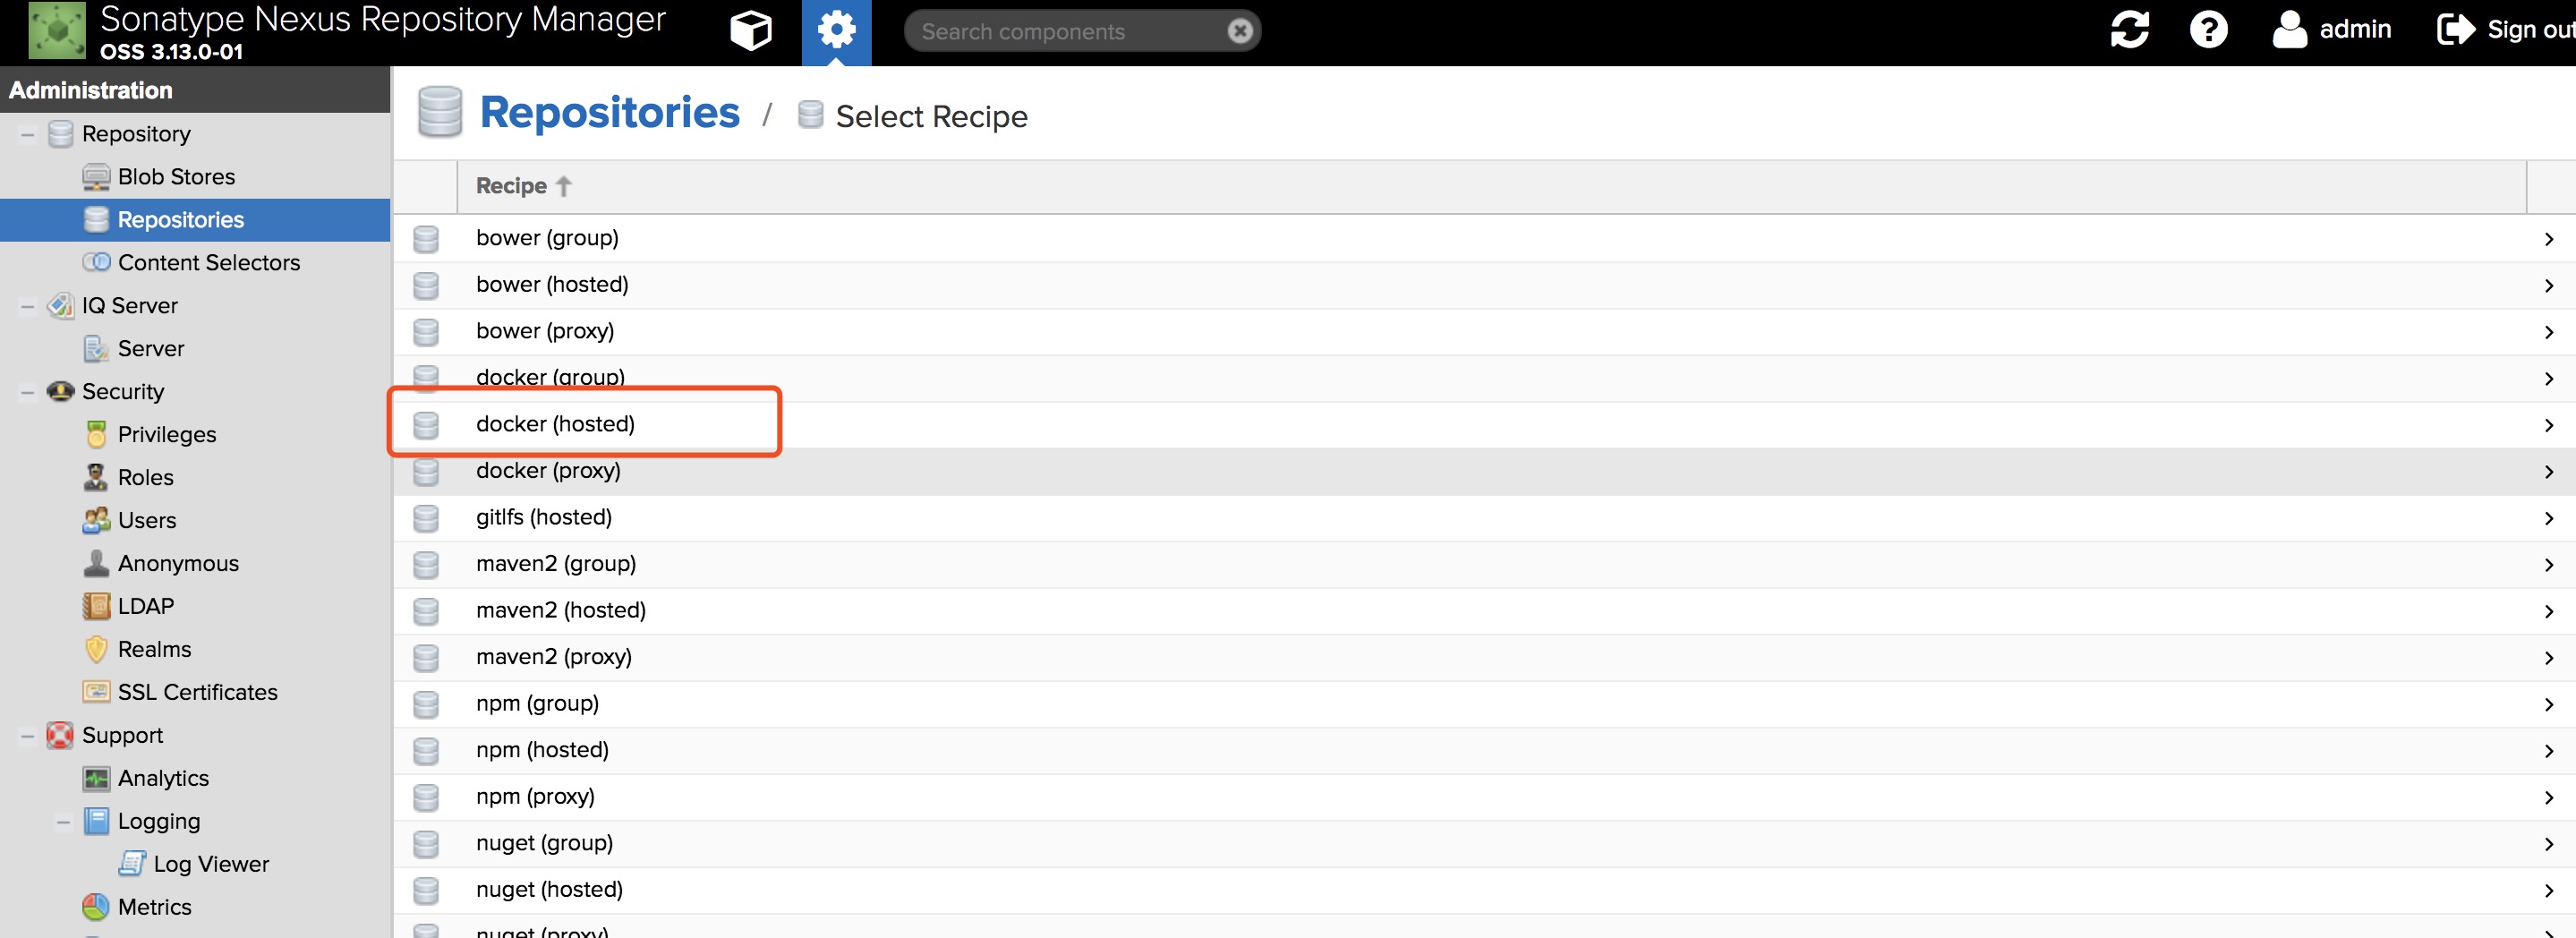
登录后点击设置界面 选择Repositories,点击Create repository,如图所示

选择仓库类型 这里选择hosted类型 如图
配置仓库
- 该仓库指定一个唯一的名称、HTTP的端口、允许交互的API等

连接仓库
其他机器需要连接仓库才能进行push、pull等操作
连接仓库前需要进行配置 vim /etc/docker/daemon.json
    {
	"insecure-registries": ["172.16.77.71:8082" ]
	}
|
|
登录仓库
|
|
上传镜像
|
|
拉取镜像
|
|
搜索镜像
|
|
总结
到此,使用nexus搭建的docker私有仓库配置完毕。公司常用的镜像可以存放在私有仓库里 毕竟官方的dockerhub太慢
Author dylan
LastMod 2019-05-06
License 如需转载请注明文章作者和出处。谢谢!